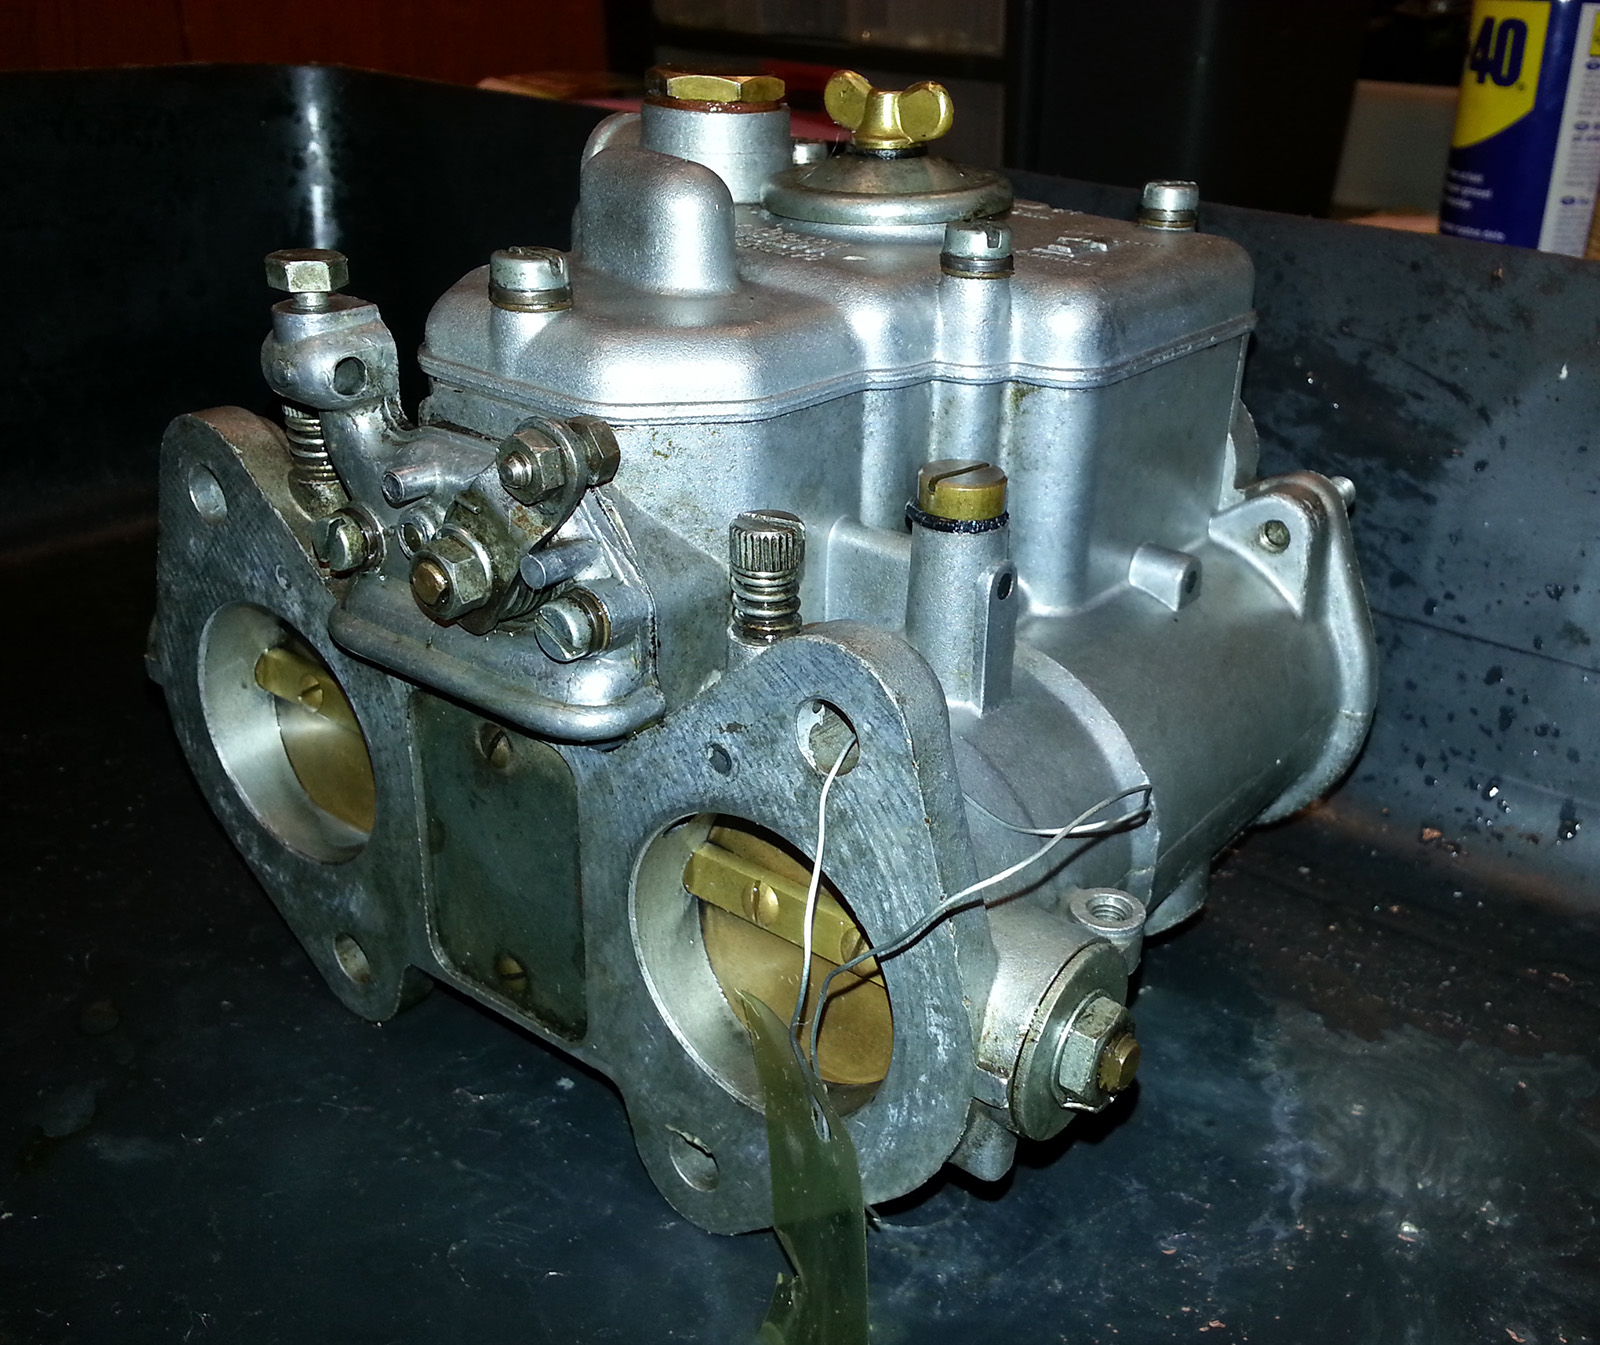
Carburetor rebuild

Rebuilding the dual Weber carburetors is actually not that difficult as long as you are careful and follow a guide if you are new to this. I can recommend the book ‘Weber / Zenith Stromberg / Su Carburetor Manual (Haynes Techbooks)’.
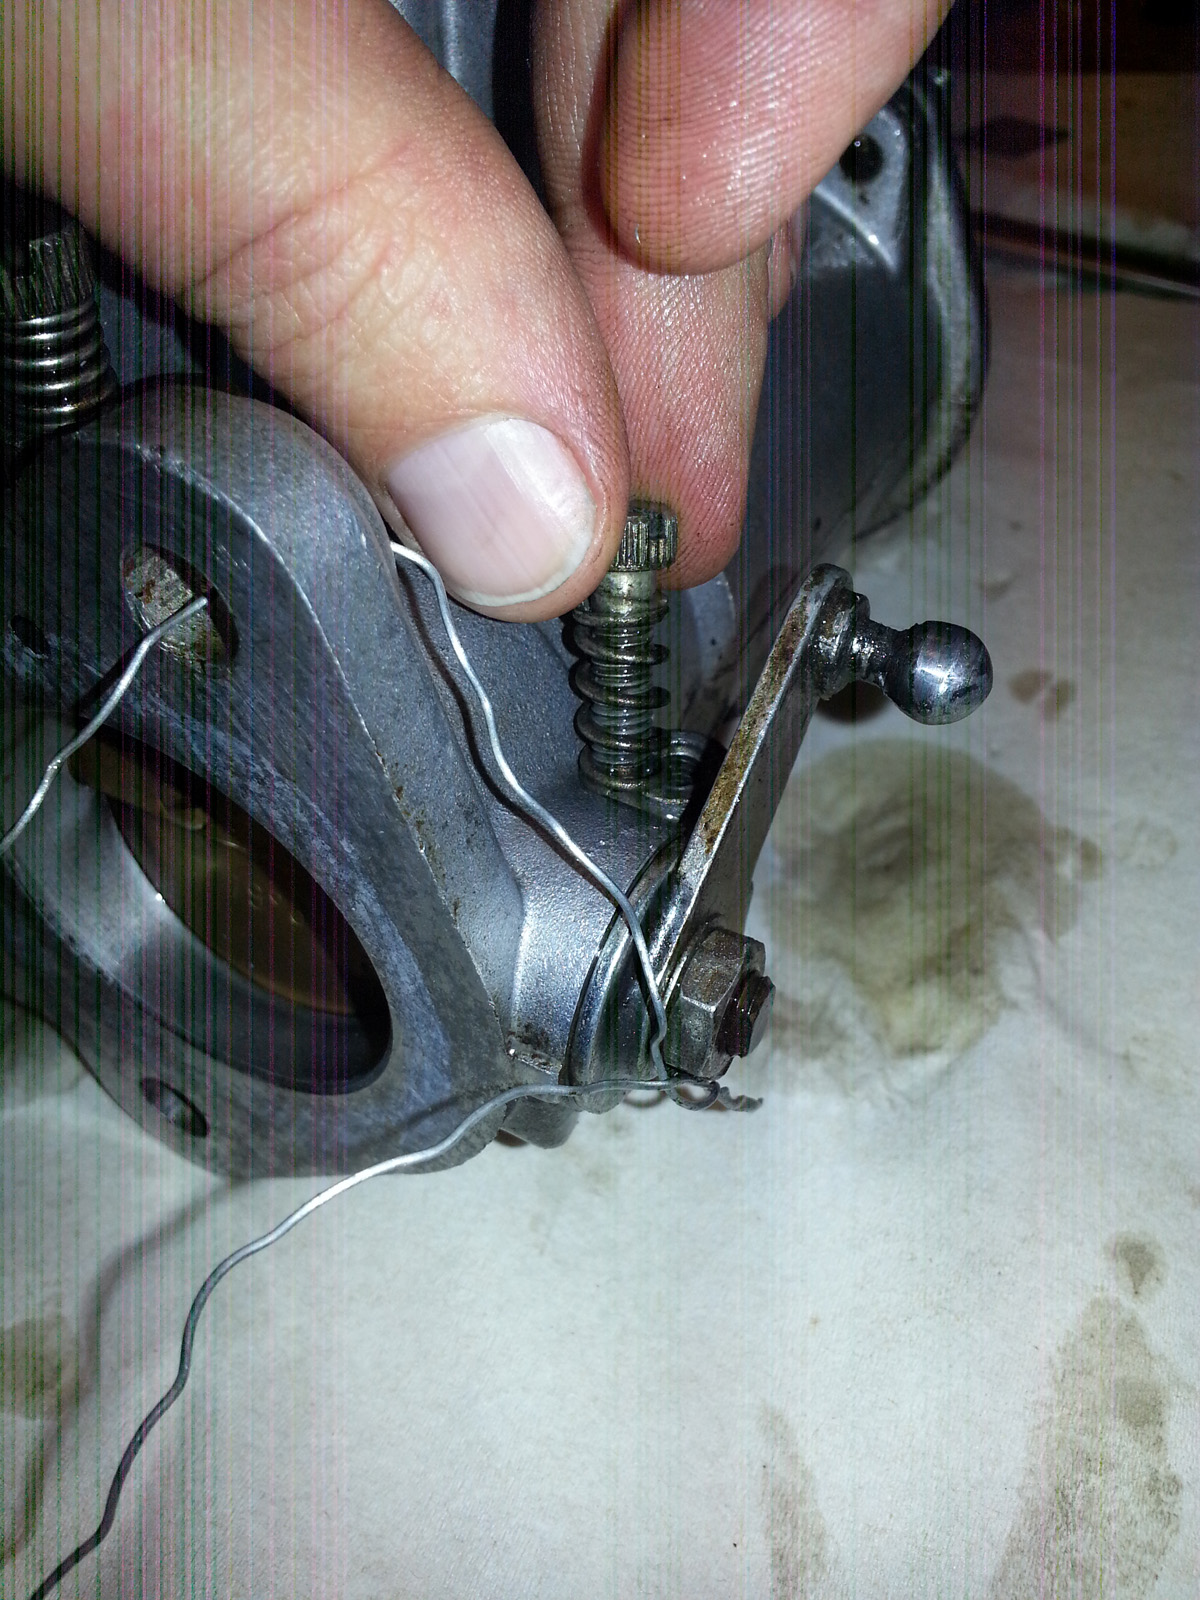
Before removing and disassembling the carburetors, always note the position on your adjustment screws so that you can easily find your basic setting before fine-tuning later. Carefully turn the screws to the bottom while counting the number of turns, eg 1½, and note which carburetor is sitting on which cylinder. Each cylinder may have small differences in combustion and you will most likely get a better basic setting by applying the same setting to the actual cylinder.
Cleaning the outside
First, I clean the outside of the carburetor with WD40 to remove the worst dirt. Some of the commercial carb cleaners (which a intended for internal parts) can destroy the surface/look so be careful with choosing the correct cleaning agent.

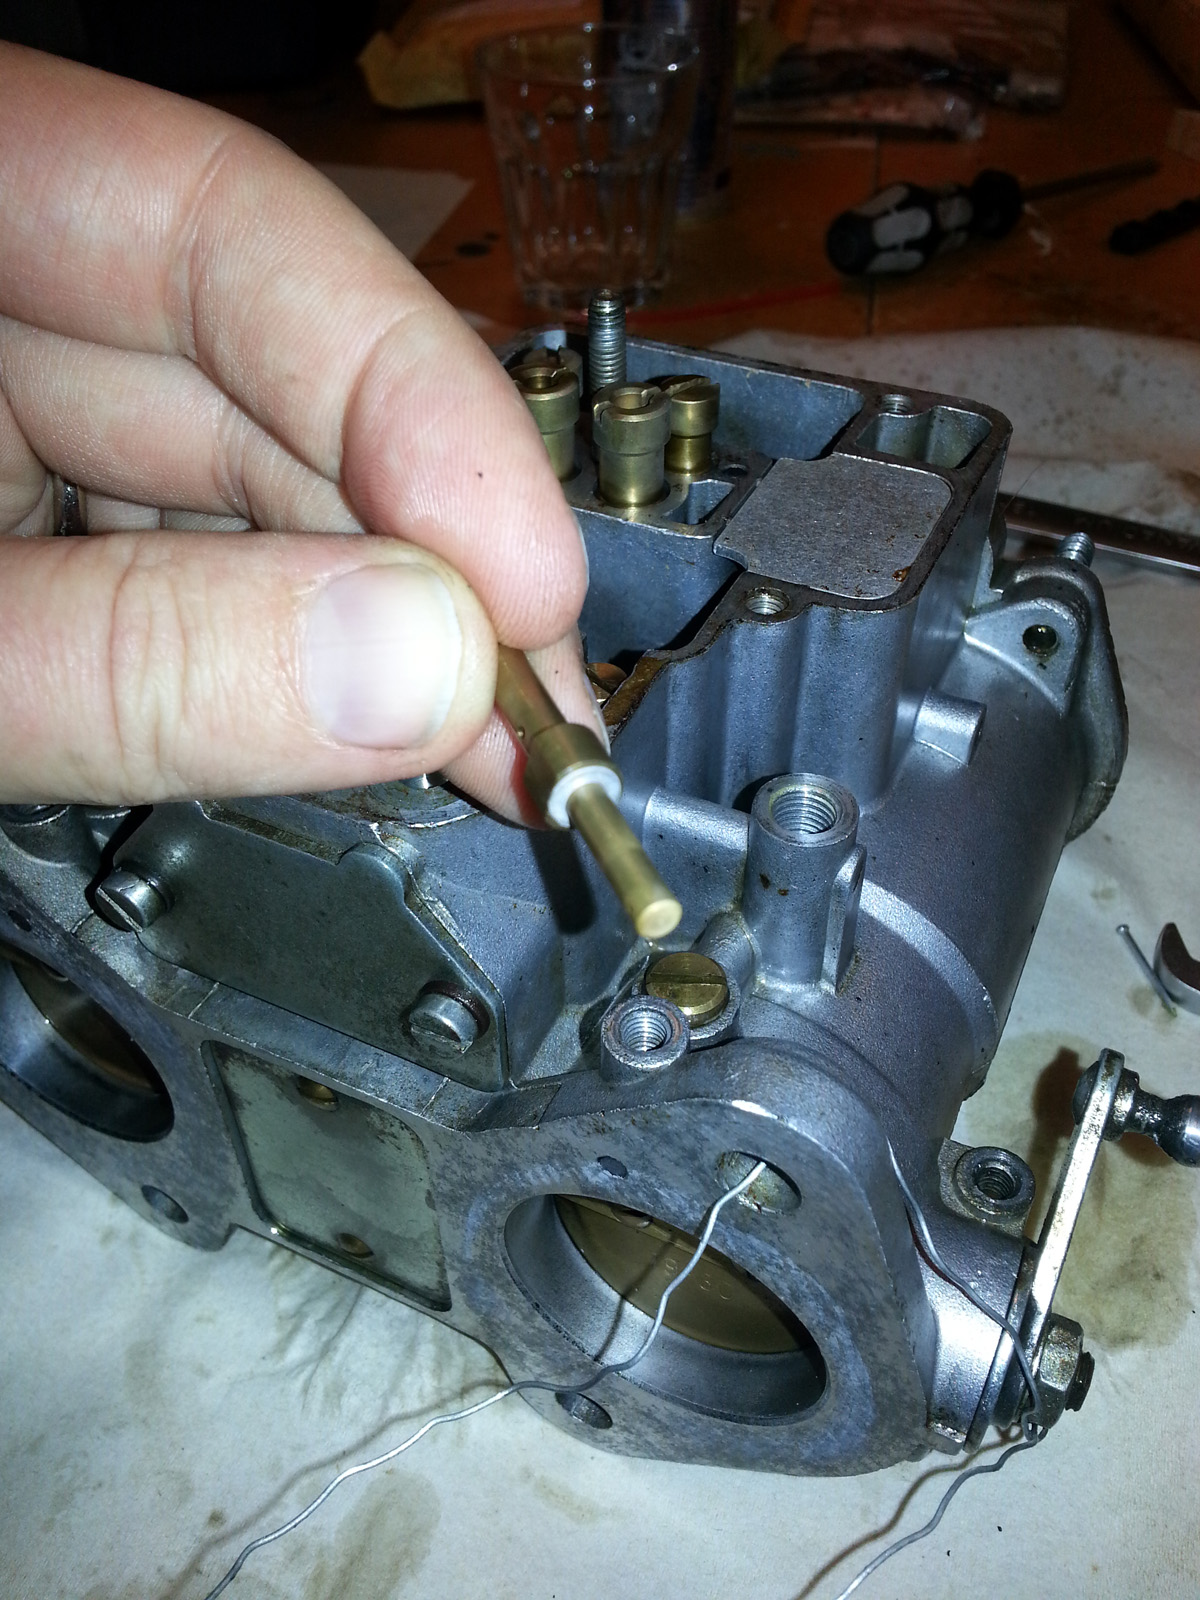
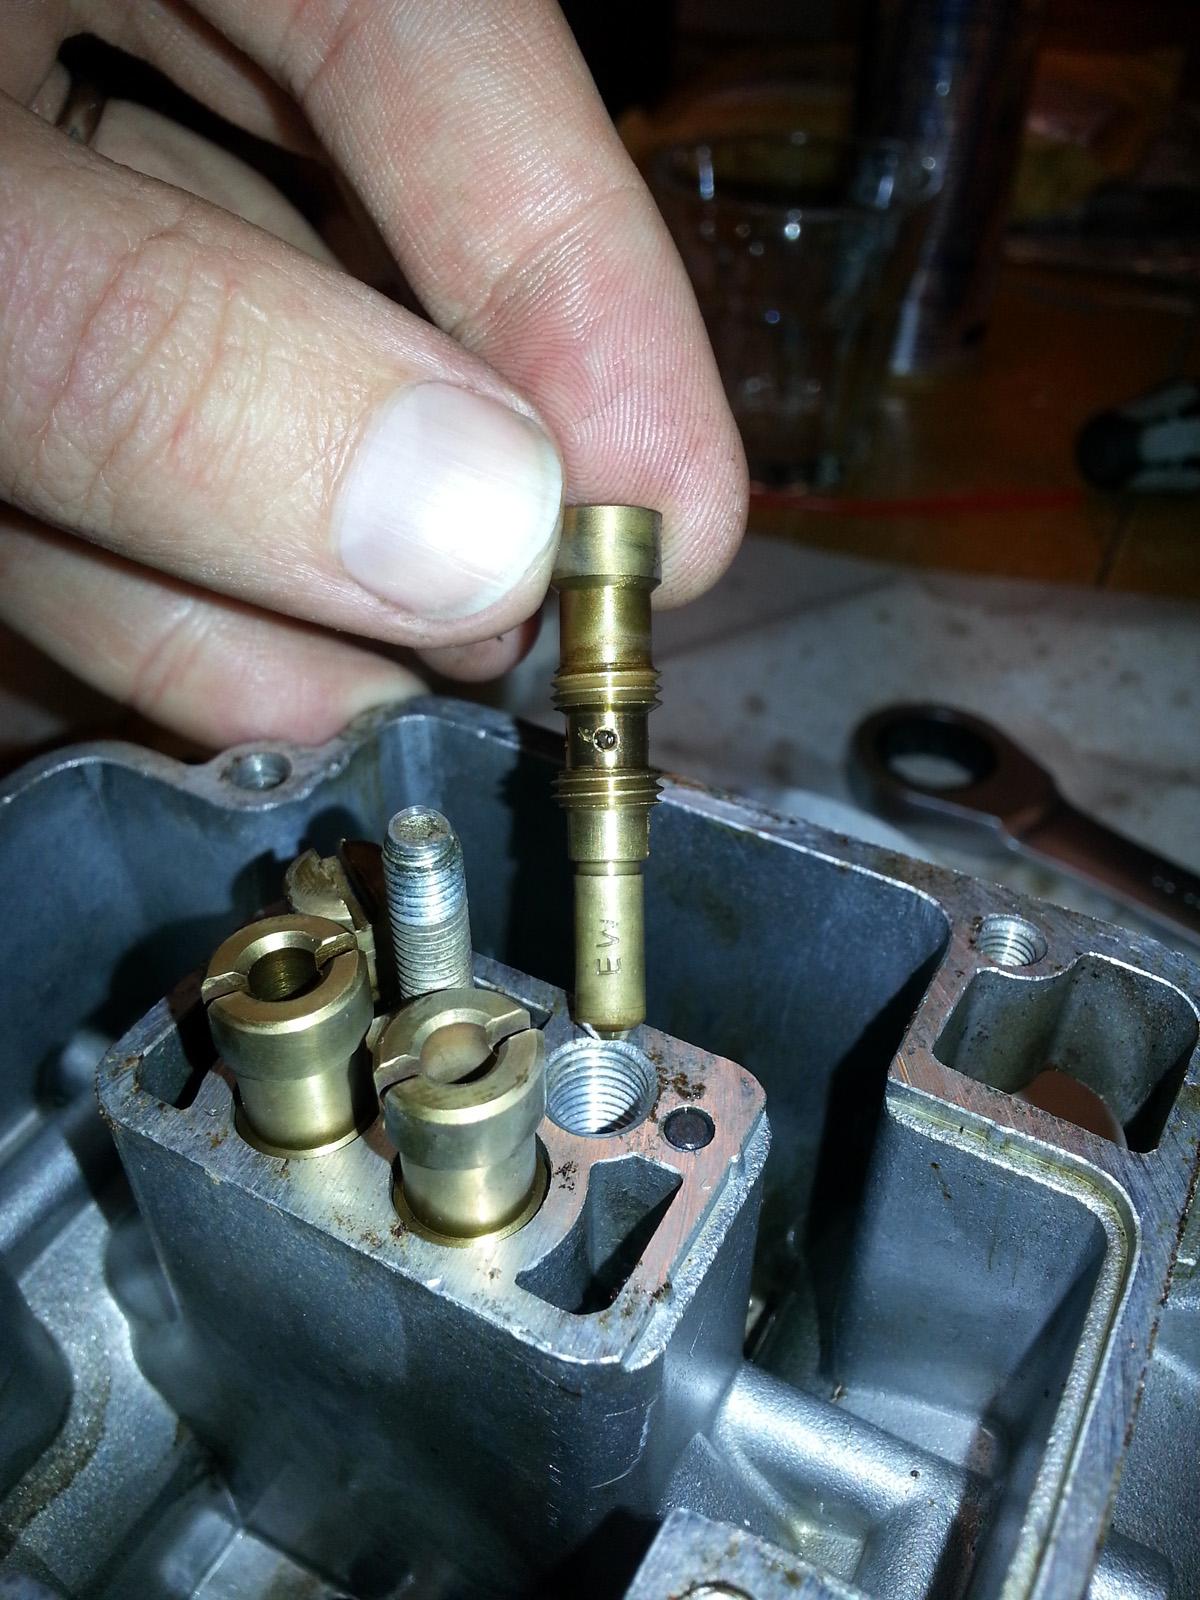
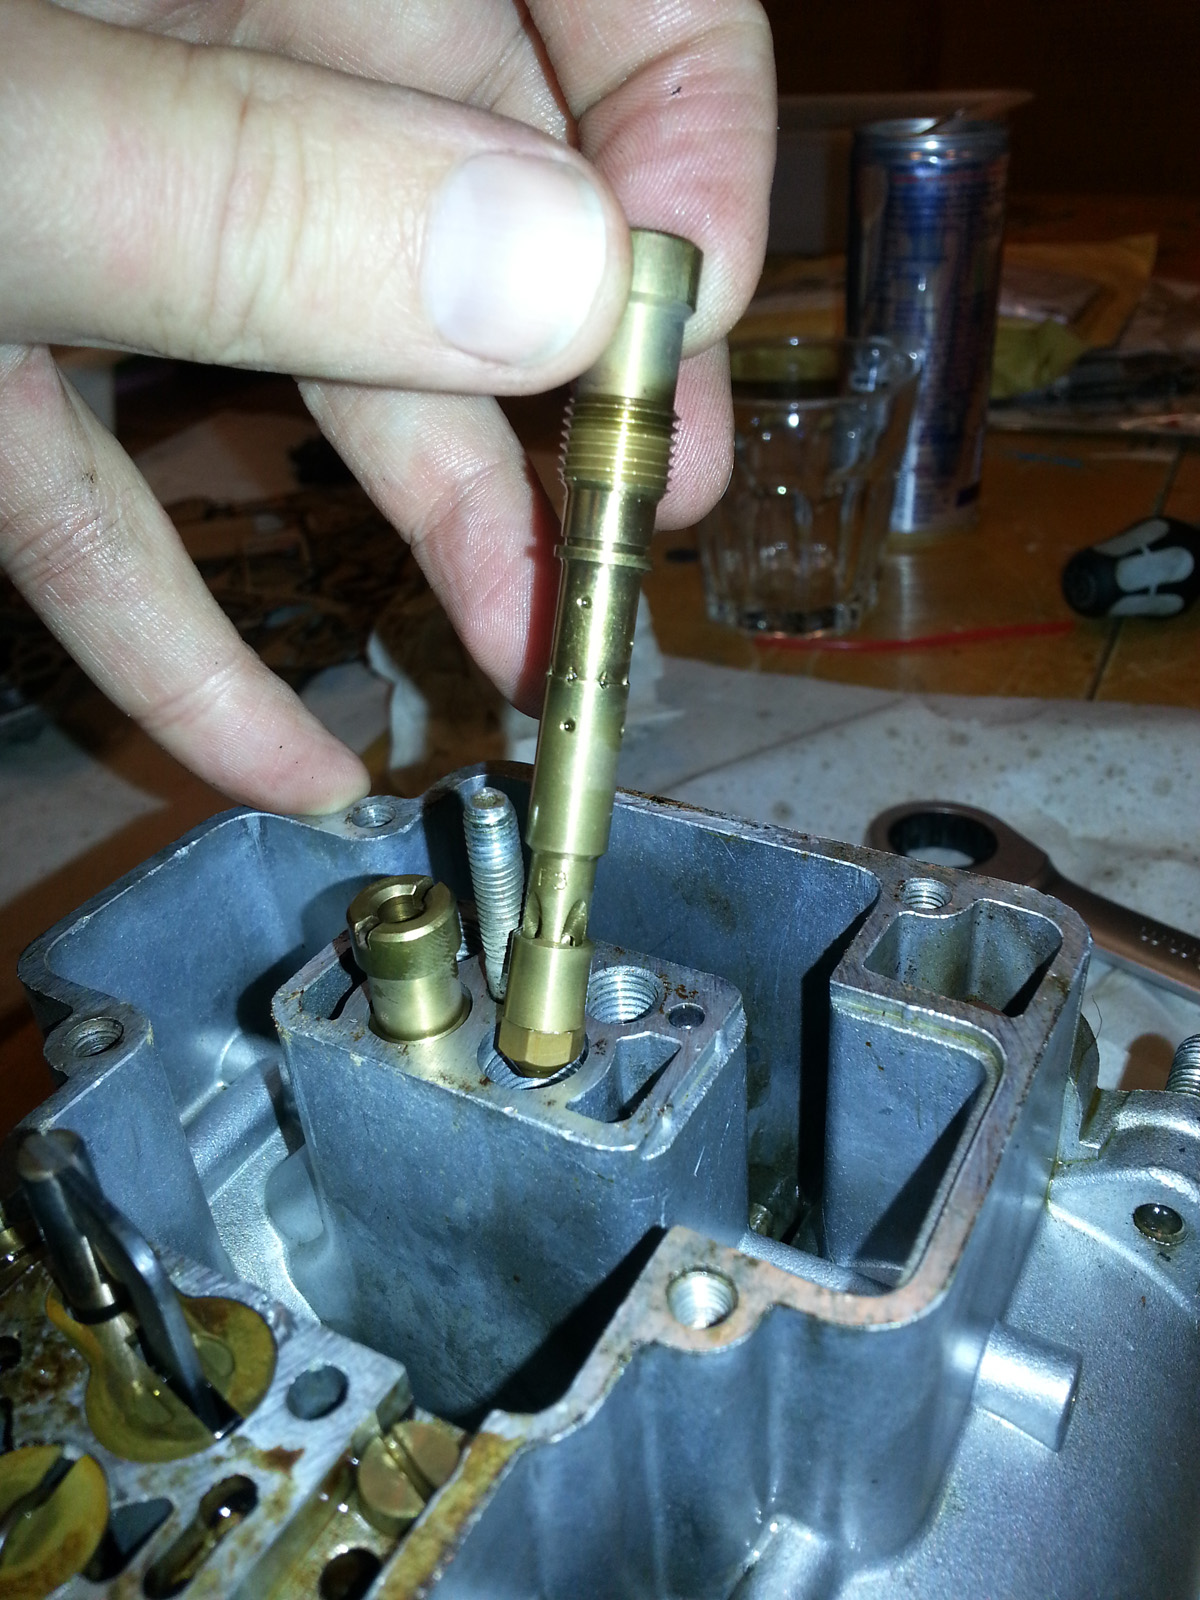
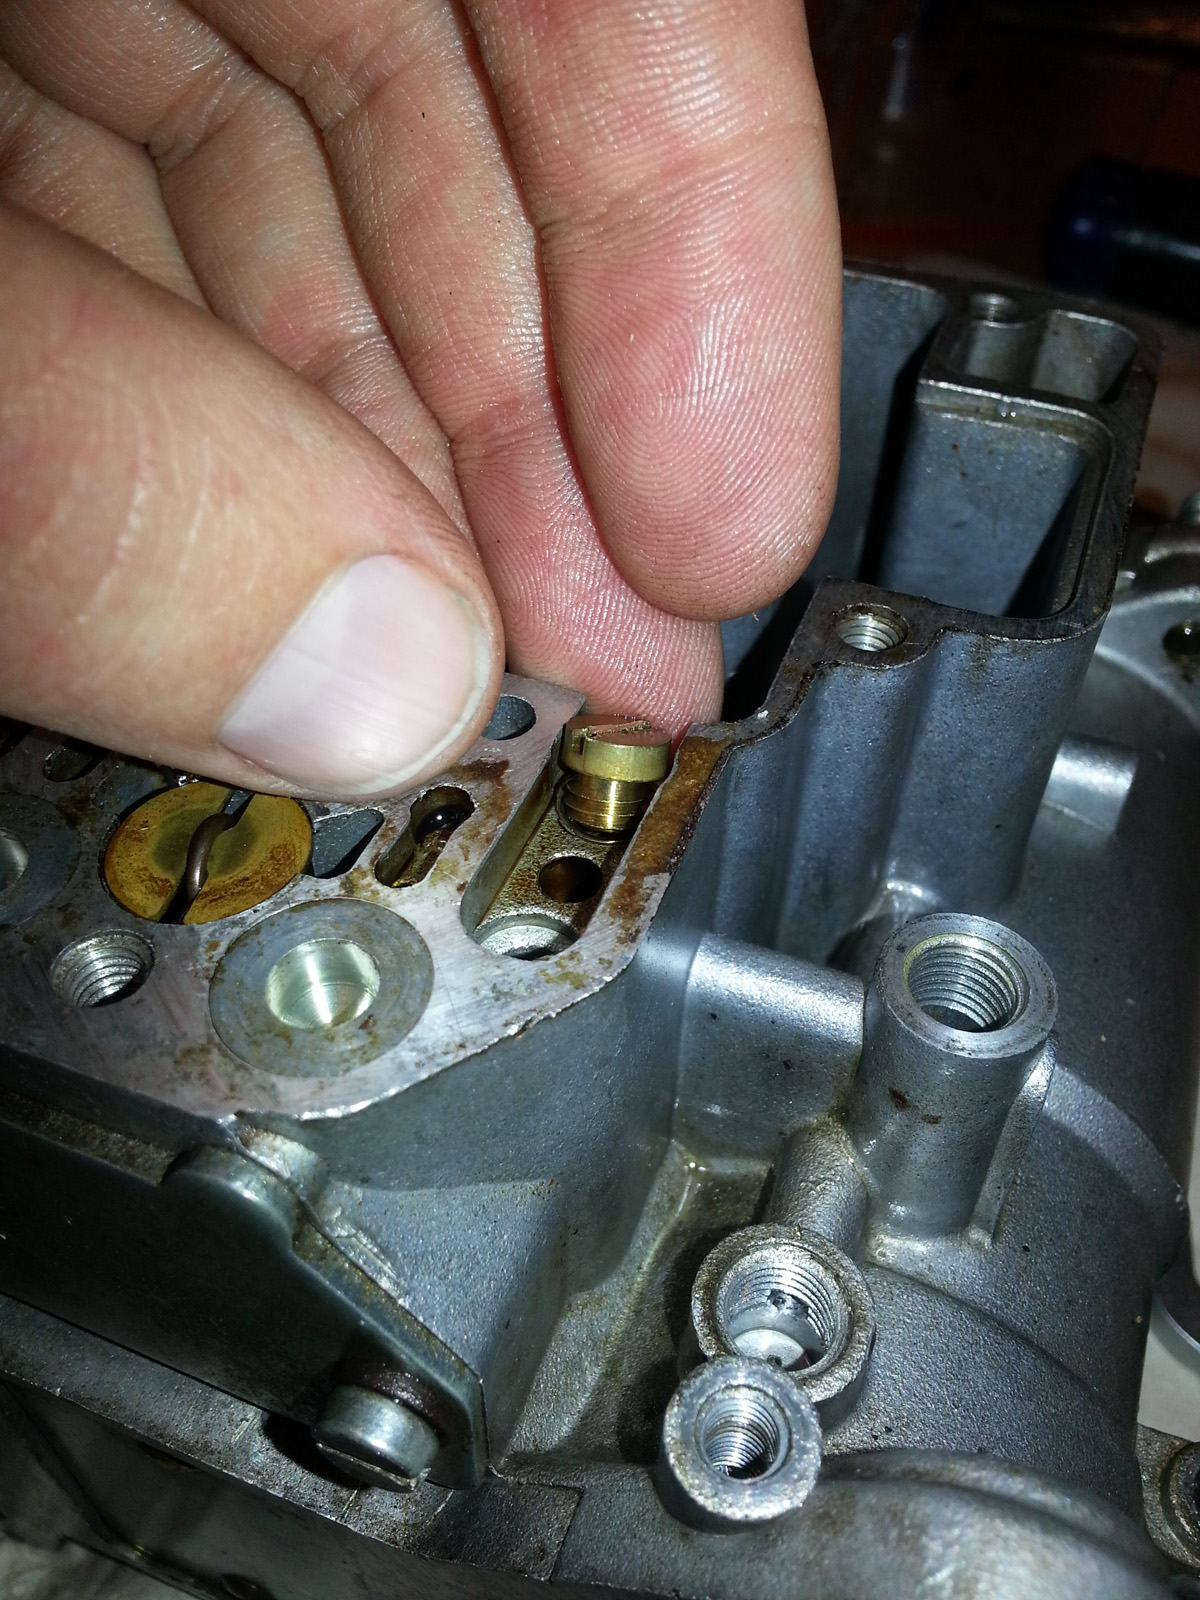
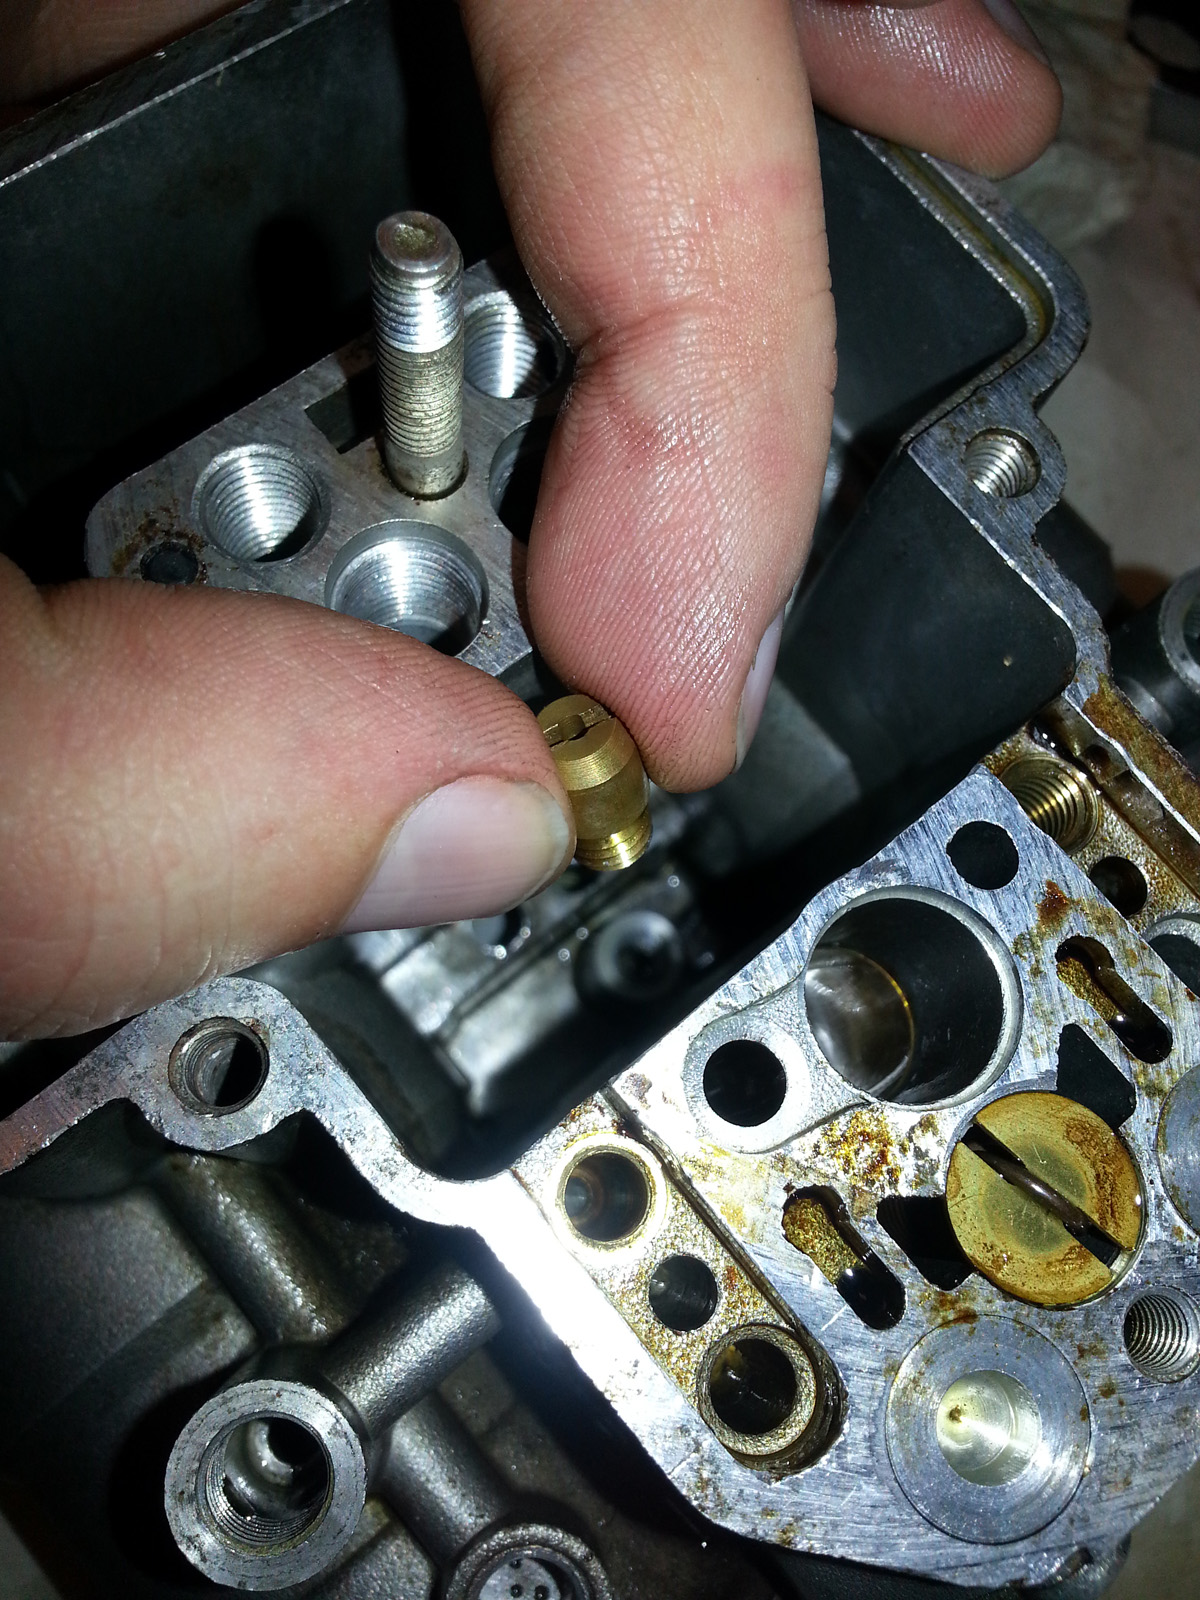
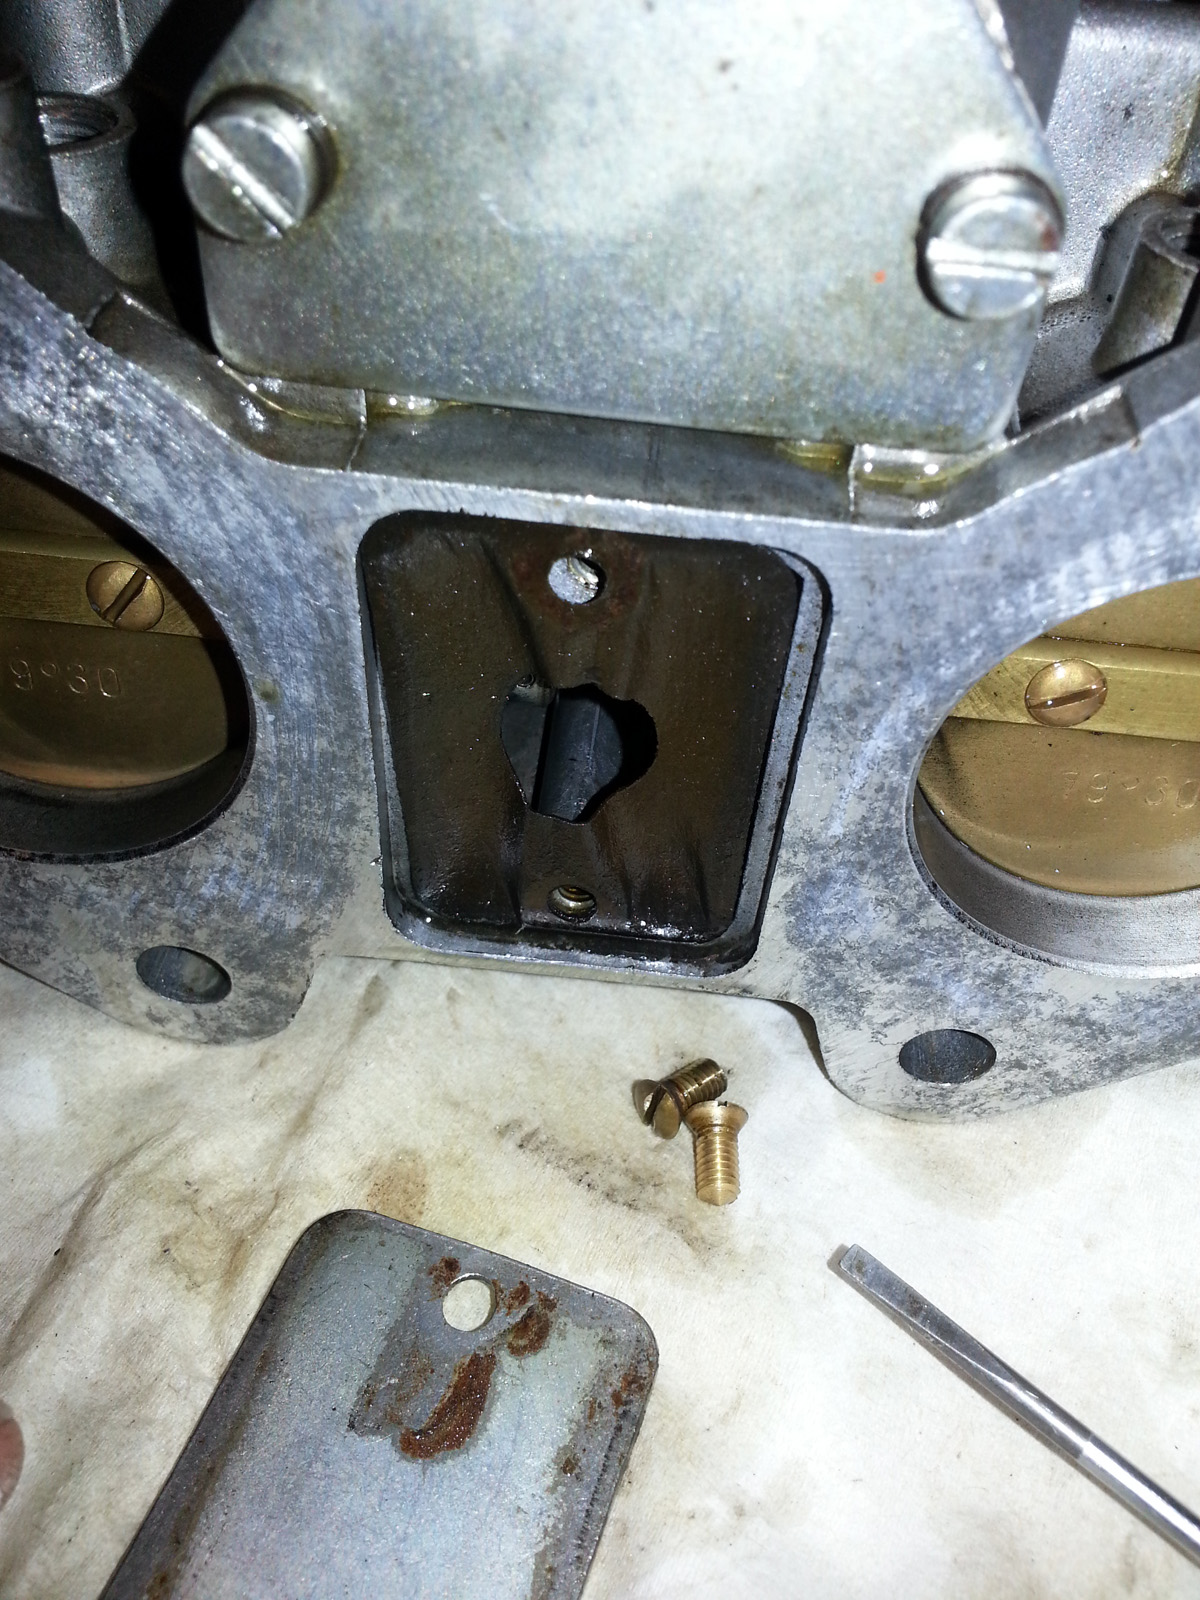
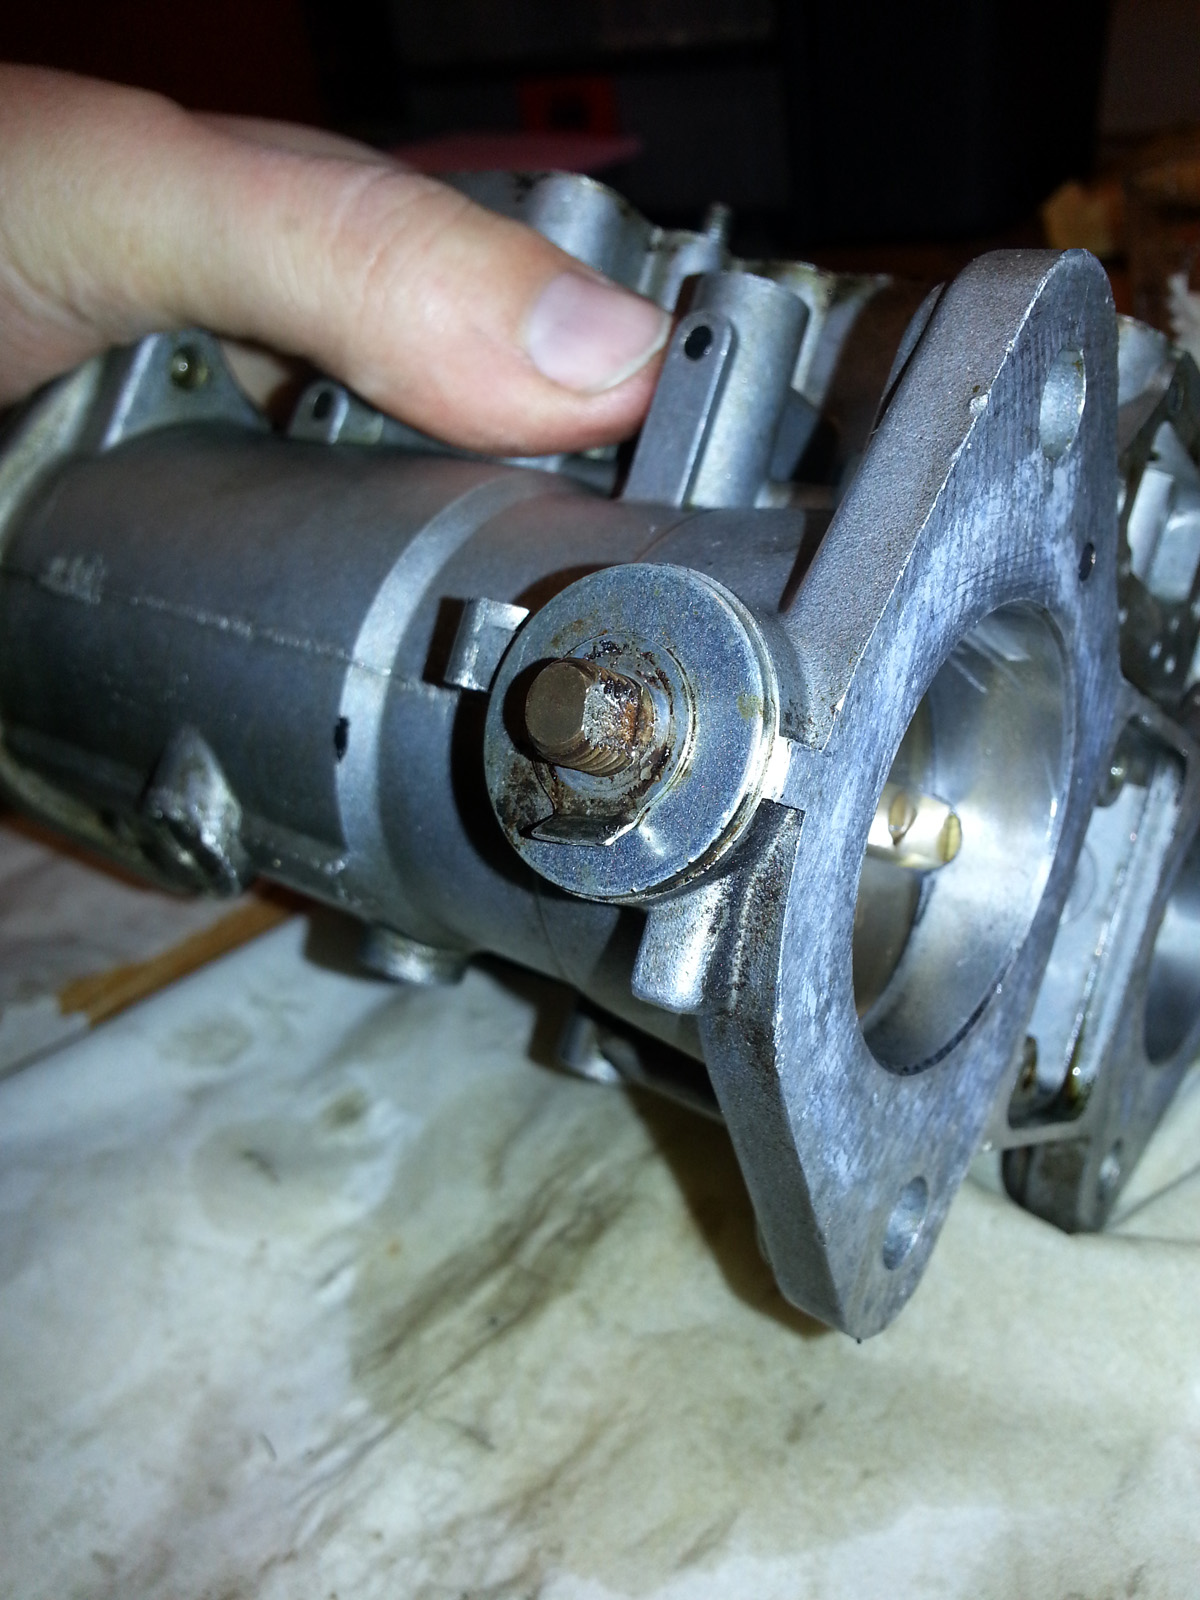
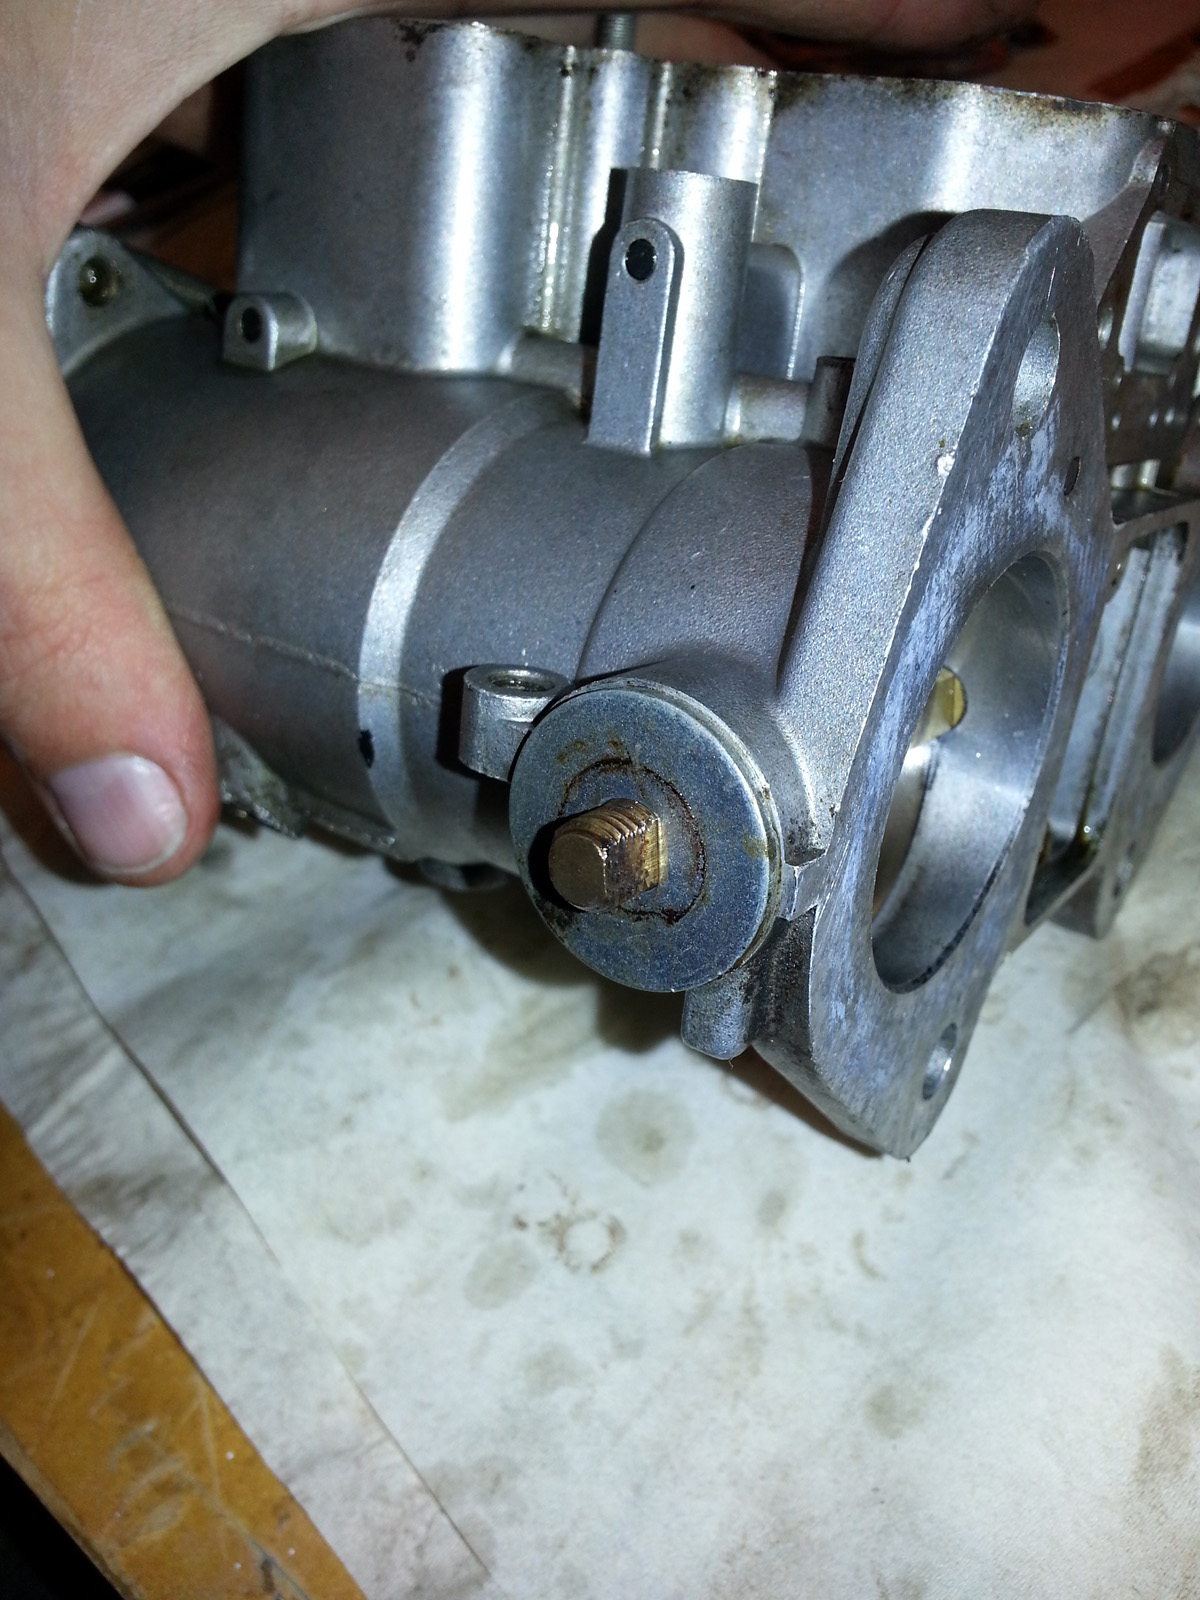
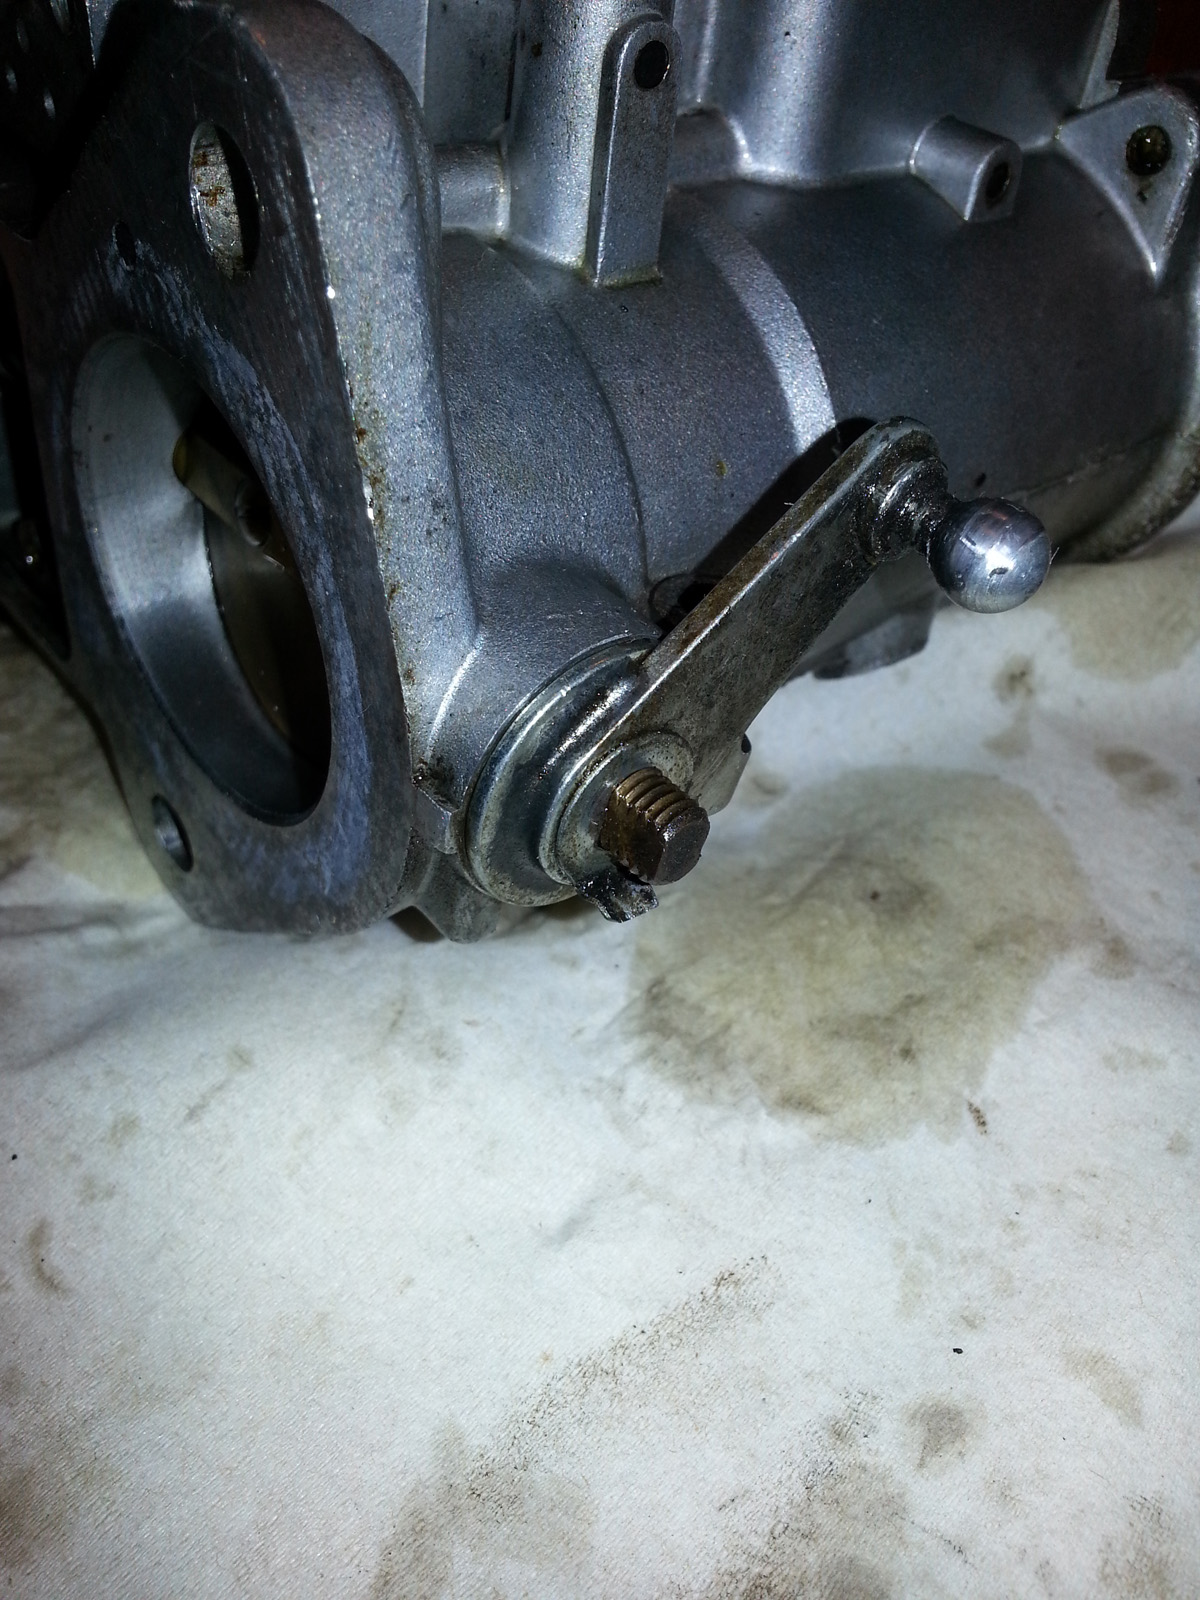
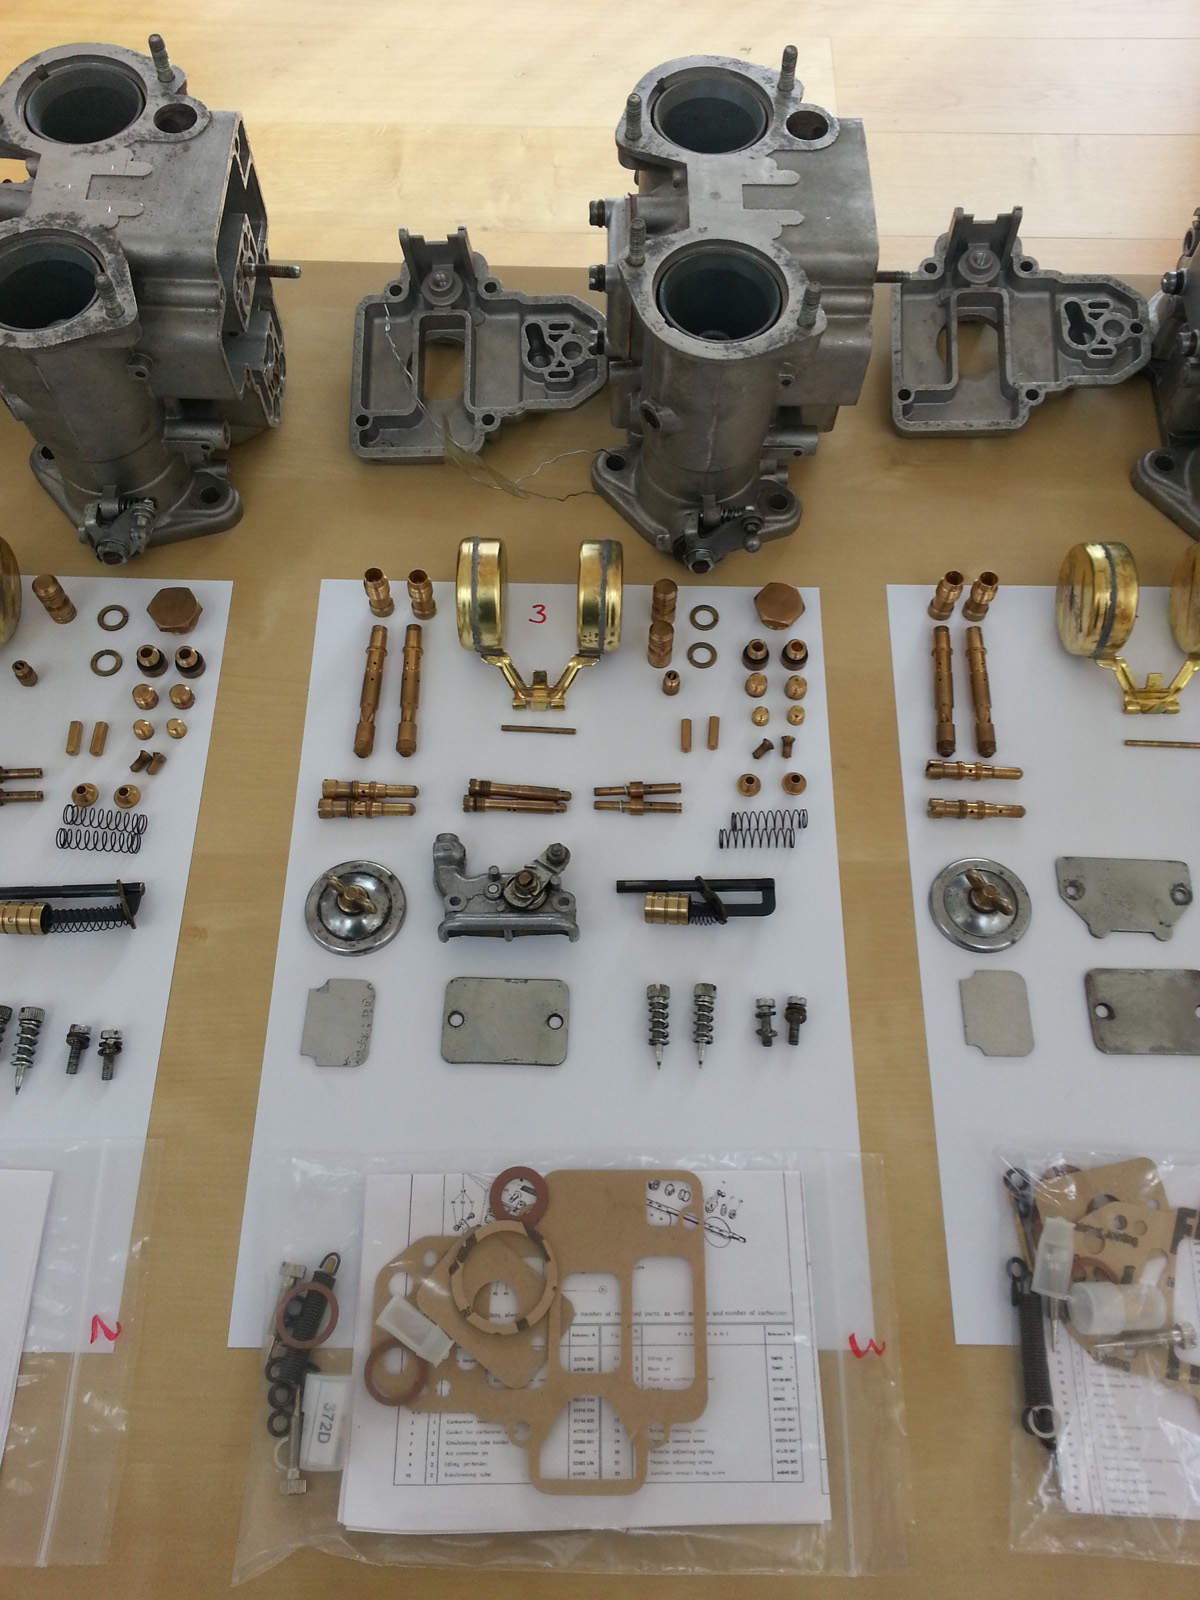
Disassembling
The following photos are not intended as a guide to the order, I highly recommend following a manual if one is not practiced.


Final cleaning
Once the carburetor is disassembled, it is time for the thorough cleaning of all the parts. I divide the parts into aluminum parts and brass parts, each of which must be cleaned in different agents. Remember to always do a test rinse with a part and agent you haven’t used before.
If you have a ultrasonic cleaner this will be the absolutely best for your parts.
I soak the aluminium parts in kerosene/petroleum for some hours, or overnight before gently cleaning them with a brush. Be sure not to leave any rubber/plastic parts that can be damaged by the kerosene.
I clean the smaller brass parts in a sonic cleaner filled with with 50% vinegar (white uncoloured) 50% distilled water and a drop of dishwashing liquid. 10-30 minuts should be enough, don’t leave it for much longer. Rinse the brass parts in distilled water with a pinch of baking soda to neutralize the acid from the vinegar. Here is a video of the princip
If there are any holes in the jets that are clogged then I recommend fishing line rather than steel wire which can inadvertently widen the very precise holes.

All parts are eventually rinsed in destilled water and dried immediately with compressed air so that all parts (especially jets) are completely free of particles. A grain of sand in the wrong place can be crucial.
I finish off with a thin layer of WD40 on all parts which displace any remnants of water and protect the parts from oxidation. Wipe any excess WD 40 off with a clean cloth.
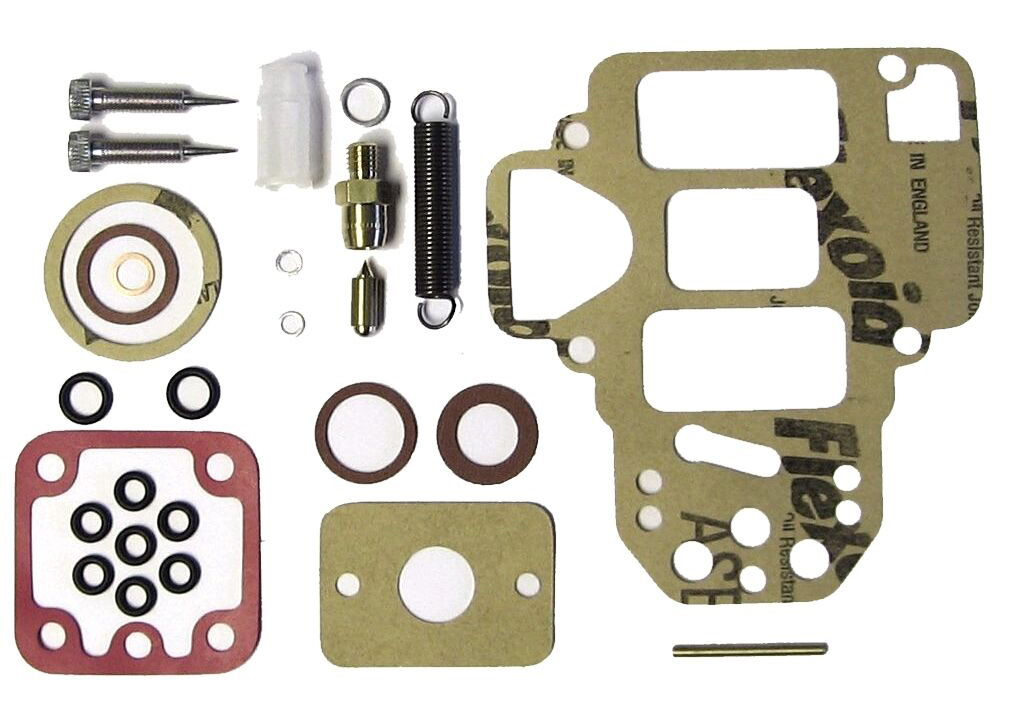
Which service kit to buy?
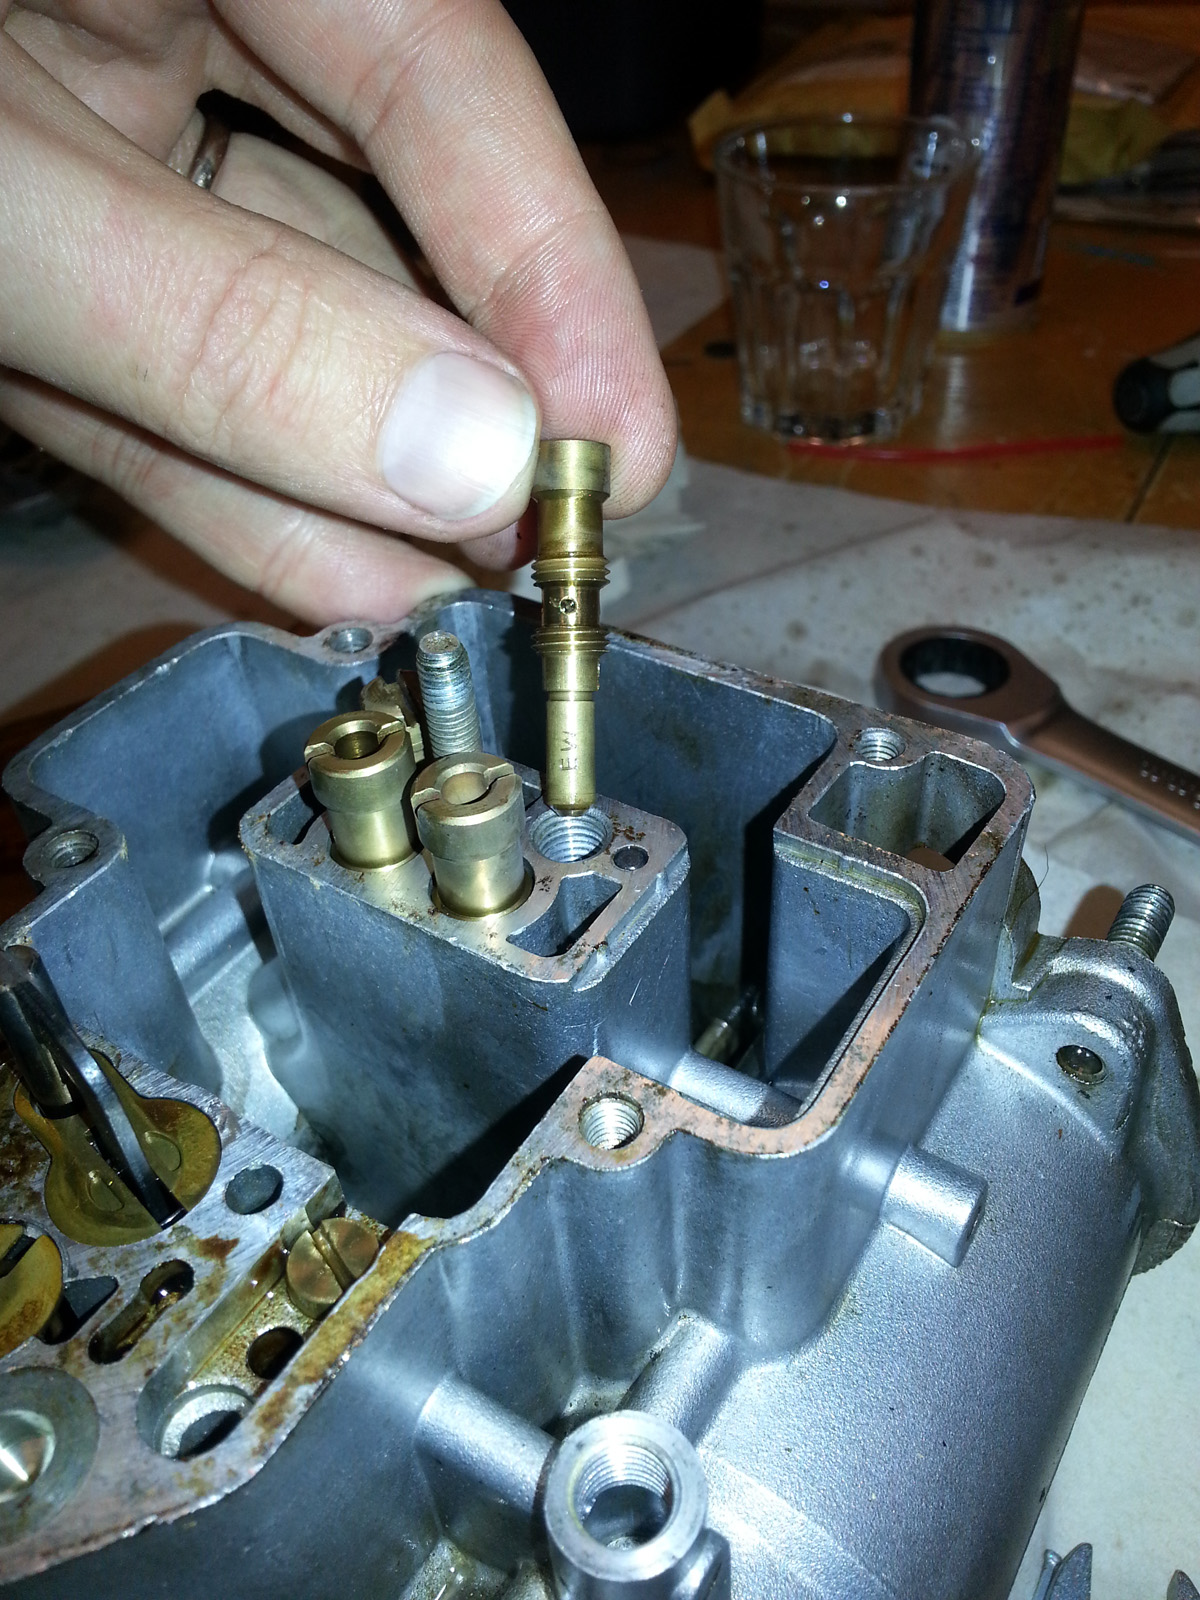
Be aware that there is a big difference in quality and not least the number of wear parts included in the respective service kits offered. Once the carburetor is cleaned and disassembled it is a good time to inspect for wear and tear and wear and tear is of course crucial to how extensive a set you need. I recommend buying a jet size gauge to measure for wear. Holes and needles get worn down by the fuel flow over time.

With the type (tipo) number you can look up what size needles you need.
I went for the Genuine Weber DCOE comprehensive service kit WE336.
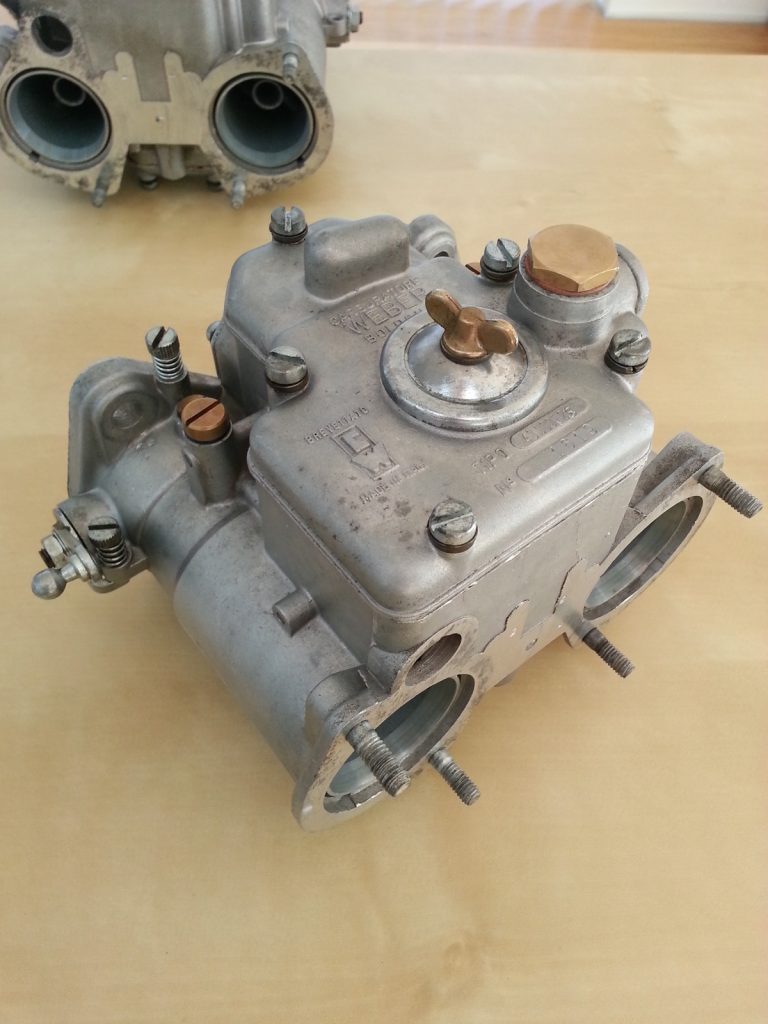
Ready for assembly
During assembly make sure to check and adjust the float level if needed according to the manual.

Carburetor service is actually quite cozy as you can sit indoors in completely clean surroundings with a cup of your favorite coffee. Be careful not to over-tighten the bolts as the aluminium may be softer than you are used to. Use a screwdriver with a wide tip where there is no slack between the tip and the notch of the screw.
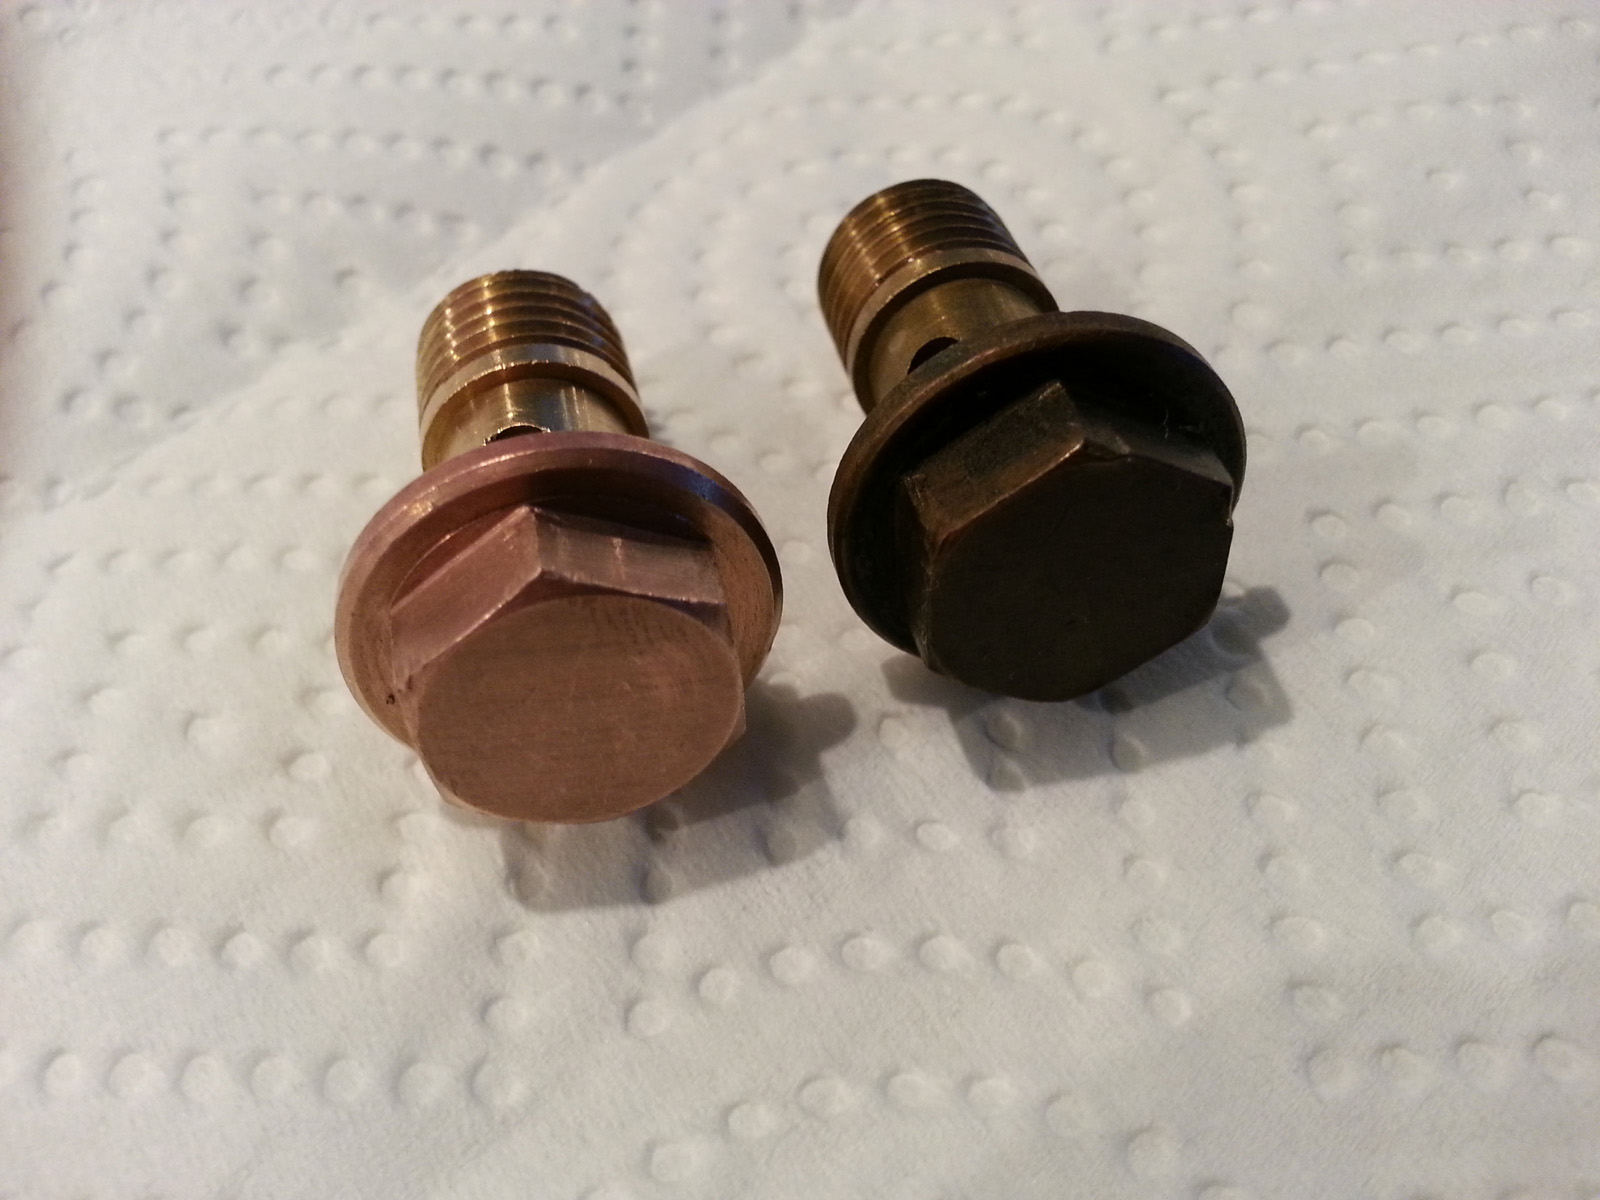
Which finish/look is desirable?
Some prefer rebuild parts to look like new and others (like myself) prefer an original look that shows the car has a history. Weber carburetors can be restored to better than new with vapour blasting and gold chromating, but personally I think it looks wrong and in-homogeneous unless the whole car appears better than new.
I am happy with this look which is 100% functional and clean, but with patina that shows that the car is soon 50 years old and has a history.
Finally, be sure to set the adjusting screws on the carburetors to the same setting you noted earlier. Fine tuning and synchronization of the carburetors is a story in itself which I hope to write about another day.